Roundup - Where's the other shoe?!
Food from the sky
Some notes on eating what the oaks give us. Sorry that it’s probably too late to use these in 2025. These instructions for acorn flour are good, here’s my notes on implementing them.
- Wait until there are way too many acorns to pick up before starting to collect them, the early ones are oak tree rejects; you don’t want them green or with the cap still attached. With so many to choose from you can afford to be choosy and only pickup the ones that look perfect. Don’t wait too long after the abundance starts, they start sprouting.
- If you have a super cheap dehydrator with no temperature control it’s fine. Somewhere between 18 and 24 hours is right. I worried about how much they darkened but it didn’t seem to make any difference in the finished product. The smell after dehydrating has notes of cinnamon and coffee. Very nice. There’s a sweet spot to aim for, I like them dry enough that they crack easily in the mortar and pestle but not so dry that the meat shatters if you hit the acorn even slightly too hard. I think that’s around where you can crack them with your hands but it’s pretty hard to do.
- To crack, put something on the TV that you don’t need to pay too close attention to. I like Jeopardy. Hold the mortar and pestle between your knees, Put a receptacle for the waste and one for the nuts on your coffee table or ottoman. Put three or four acorns at a time in the mortar and strike them just hard enough with the pestle to crack them. Put the pestle down. Use your fingers to open them up and pull the nut out. Move on to the next group.
- If you grind them all the way into flour consistency before leaching then the water will constantly be full of sediment and it’ll be hard to judge its color. Keeping the grind rough makes judging the color easier and the extra steps it adds are quick and easy.
- I used my Vitamix for all grinding. I played with drying the acorns in their rough ground form and then dry grinding into flour from there. Doing this in the Vitamix without shelling out the money for the separate dry container is doable but twiddly. It involves lots of pulsing and shaking. The texture came out better and I avoided this twiddliness by grinding the acorns in water like the standard vitamix container was made for. Now you just have to run it at high speed for long enough. It means that you’re drying wet flour which is like super fine beach sand which is trickier than the rough ground acorns but life is tradeoffs. So my preferred process now is dehydrate, shell, rough grind wet, leach, final grind wet, dry.
- I have a grow light setup I use to start seedlings a couple times a year. To dry, I spread the wet acorn flour on a baking sheet with parchment paper and put it under the light. I also ran a portable fan nearby to get a little breeze. If the flour is finely ground you need to break up the clumps every few hours or they get super hard. I don’t think it’s possible to avoid all clumping but you can minimize them.
- This bread recipe has just a touch of nuttiness and is nice and moist. This recipe has a lot more acorn in it and is denser (it’s a quickbread) and is good with coffee and butter.
Full Speed Ahead!
I listened to this episode of Vox’s Today Explained about the new genAI video platforms Vibes and Sora. They seem bad. The whole experience of genAI deployment in 2025 is like being on the Titanic and a bunch of nerds are standing at the rail pointing at icebergs and all the richest gentlemen are up in the bridge fighting over the wheel to see who can steer the ship into the biggest one. Because the icebergs are made of money? I dunno, metaphor kind of fell apart.
Avoiding fiery death
I recently revisited our smoke detectors and fire extinguishers. Assuming you’re like me and don’t live in one of these newfangled houses with hardwired detectors, don’t assume that you have the right number of battery powered smoke detectors installed or that they’re in the right places. That wasn’t true of our house when we moved in back in 2014. Since I found it hard to find it clearly layed out: Work backwards from detecting a fire quickly and escaping. So:
- detectors in every bedroom.
- detectors in the hallways outside the bedroom (since you keep your door shut when you sleep, you want to catch a fire outside the bedroom before it manages to get smoke into the room).
- detectors near appliances that can start fires (but at least 10 feet away from cooking stuff).
- CO detectors around all the stuff that makes fire as part of its job like a gas heater or dryer.
- Tops and bottoms of staircases.
- Anywhere where a fire would cut off your escape.
That all sounds like a lot but each smoke detector checks multiple boxes.
If you haven’t done this in a while:
- Battery detectors have lifetime batteries now. They don’t chirp until it’s time to replace the whole detector. That’s rad.
- There are combo CO and smoke detectors now (maybe there were last time I did this and I found some reason not to use them). Folks will tell you that a ceiling detector won’t catch dangerous levels of CO because it’s heavier than air however a 2012 study found that that’s a myth in practice. “The weights are so close that CO rapidly diffuses in air until the concentrations are equal everywhere.”
- Battery powered detectors that connect to each other like the hardwired ones do exist but they’re proprietary, “smart”, and fiddly. All things that I don’t want in a smoke detector. Apparently Google had some Nest detectors that were at least reliable and not fiddly but they are… wait for it… discontinued.
Bespoke Slop Of The Future
Things I’ve been thinking about and hope to write about soon
- The agony and the ecstasy of genAI. It’s real useful actually. Why do so many people think otherwise? Either way the downsides seem awful. We’re just not mature enough for this.
- The unreasonable effectiveness of Reddit. It’s real useful actually for an introvert like me. How did we get here from the sepia-toned newsgroups past? Should we be okay with every year finally being the year of mastodon on the desktop?
- Wanting to destroy everything rather than fixing it as a lazy and destructive strategy / Also wanting to kill off your opponents rather than changing their minds as a lazy and destructive strategy.
- Some mapping of webservice security strategies onto the disinformation problem and some impractical ideas about ways I think we could move the needle.
Book reviews
- Klara and the Sun by Kazuo Ishiguro. An engrossing fast read. I enjoyed the richness of its setting and how the novel doesn’t ever go out it’s way to explain it all to you. You’re set in this world with these characters and you gradually pick up details about this world by watching them interact with it. Some details of how Klara perceives the world are still mysterious to me. I couldn’t tell you what it’s really about in the end but there were definitely aspects I found very resonant. We see a very human story, full of everyday tragedy, through the eyes of a protagonist that isn’t human but is perceptive and seeks to understand.
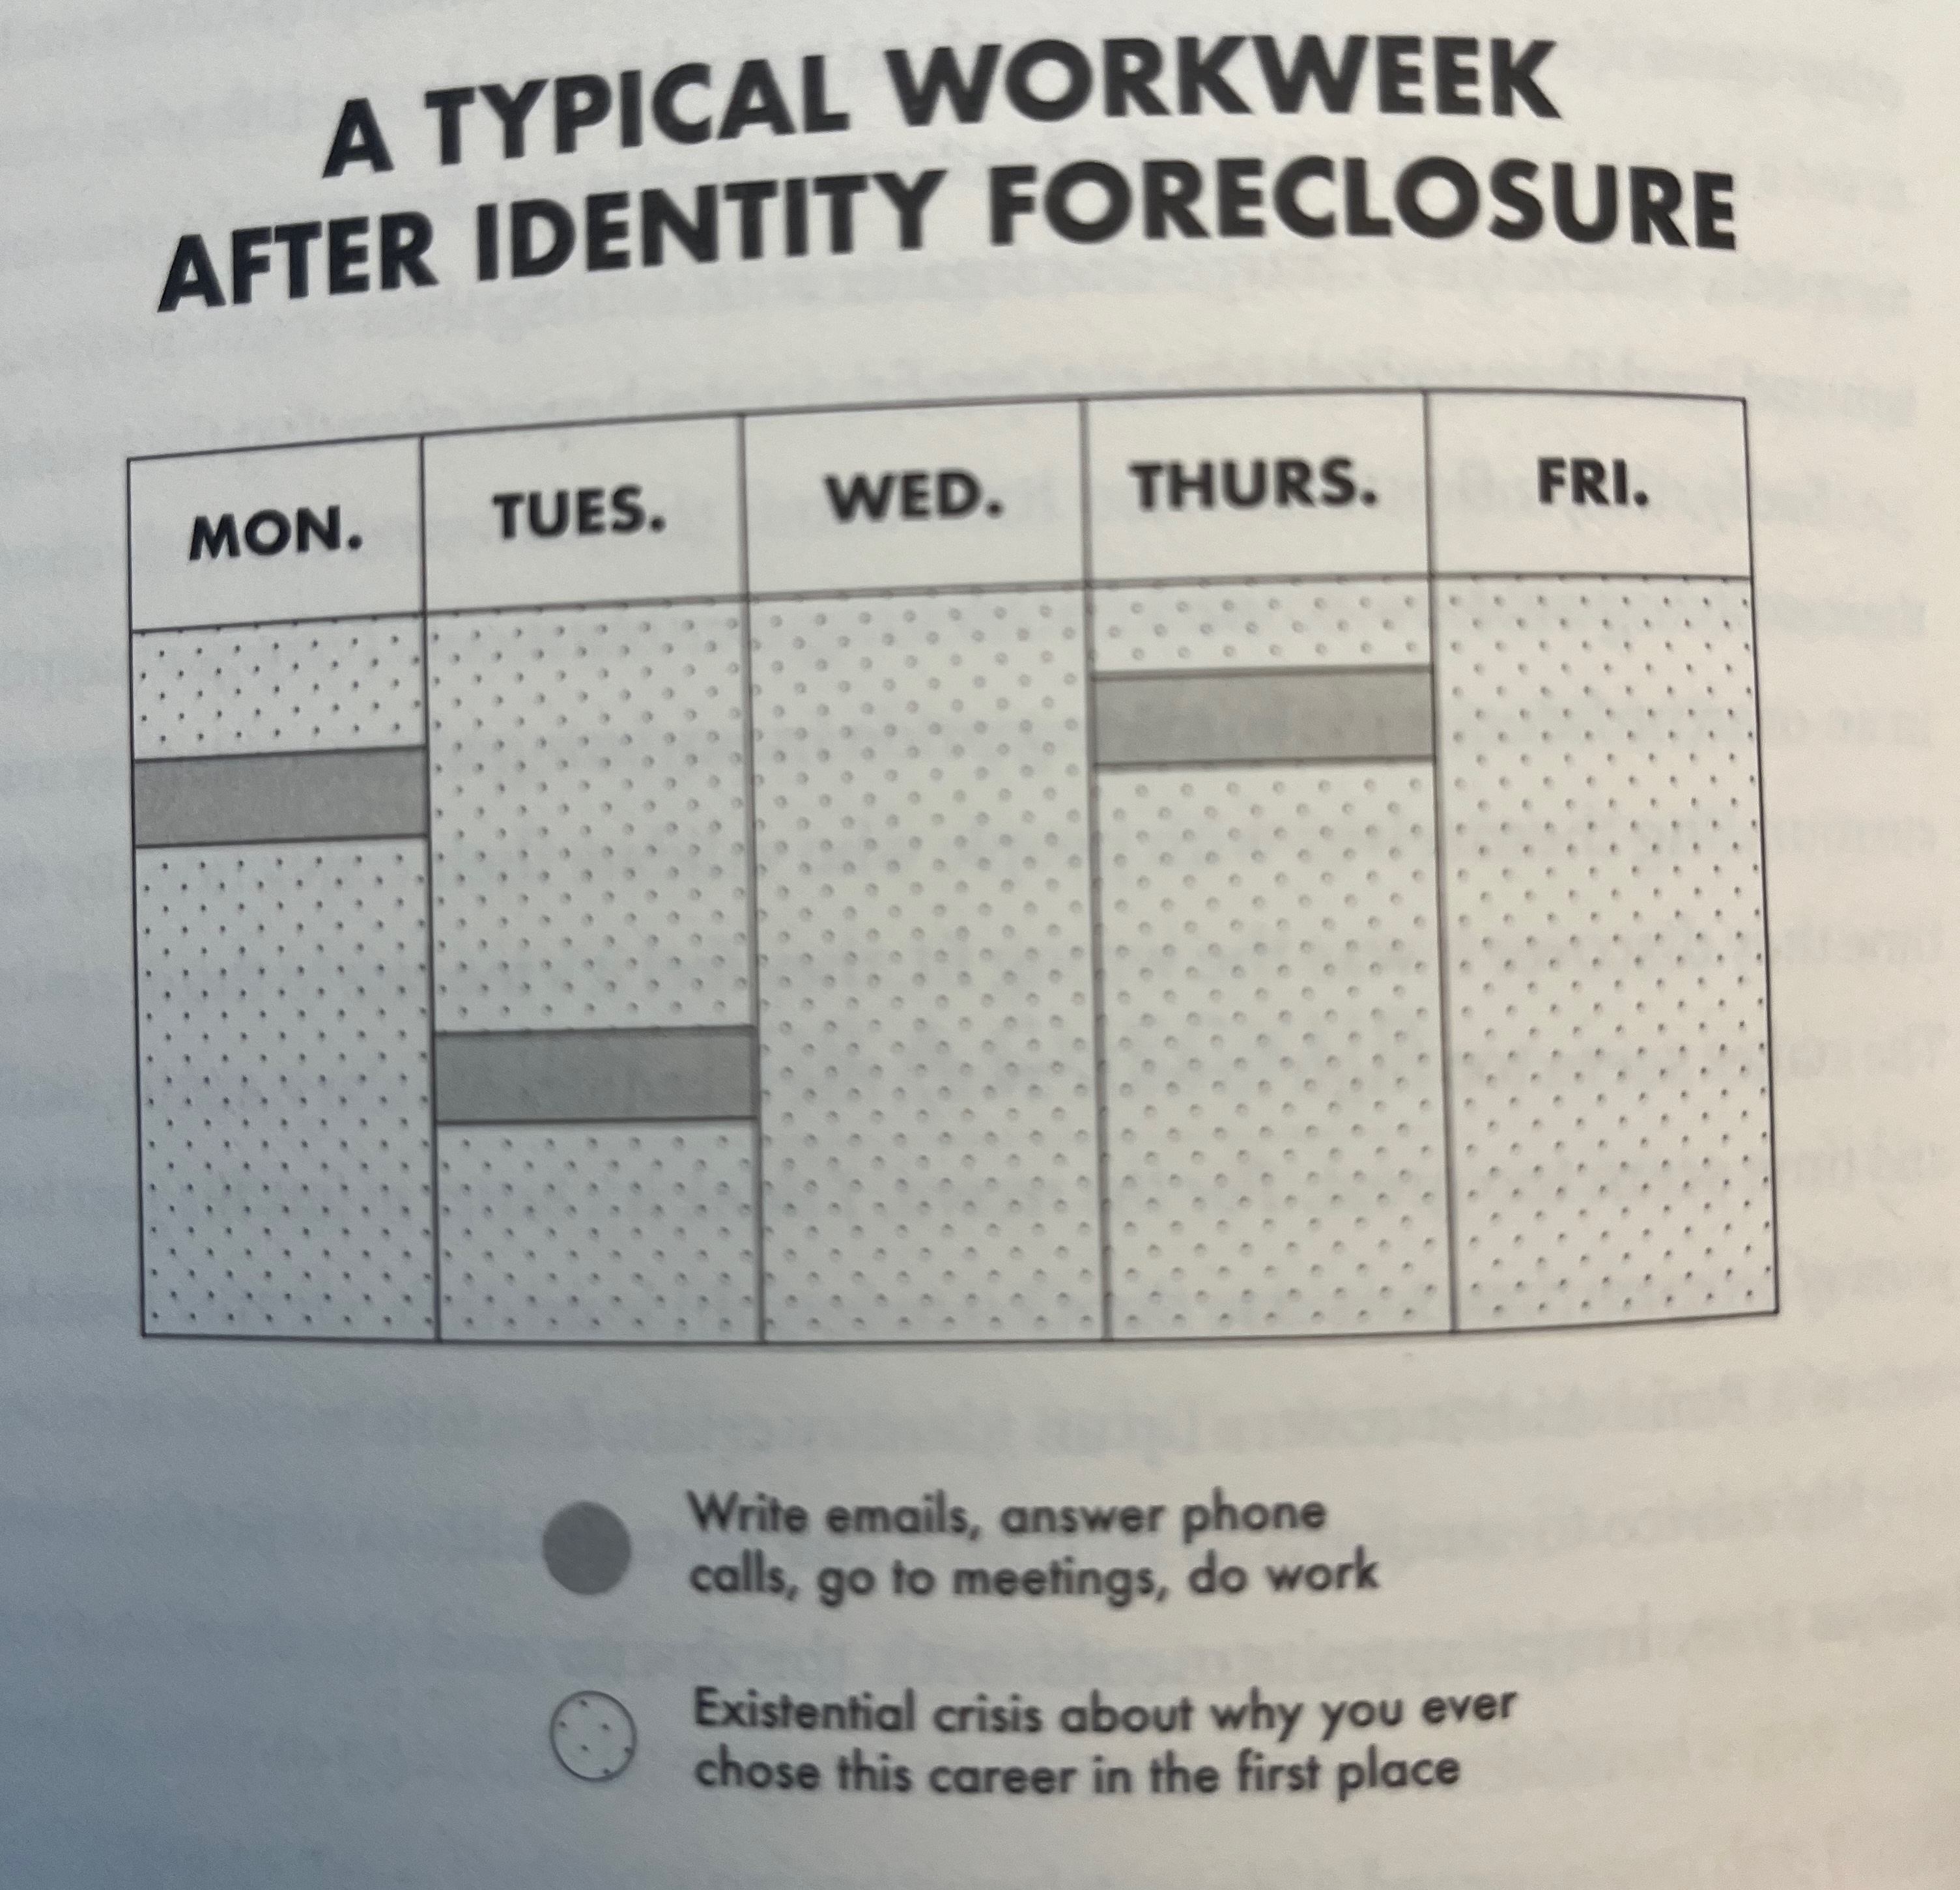
- Think Again by Adam Grant. Pretty good. Unlike most pop science books I managed to make it all the way through this one. Has a few useful frameworks to describe a flexible mindset. Lots of good takeaways on building productive teams and changing other people’s minds. Also this picture; I mean c’mon.